
BEFORE YOU Start:
1) This item is explicitly intended for establishment outwardly of the vehicle.
2) Required Things incorporate an establishment wiper, veiling tape, glass cleaner, dry paper towels, estimating tape or ruler.
3) apply no vinyl designs in direct daylight. Ensure it is between 60 degrees and 80 degrees F. Leave the vehicle in the carport in the shade. Let cool for 30 minutes if hot.
4) Don't store unapplied illustrations in direct daylight - harm might happen.
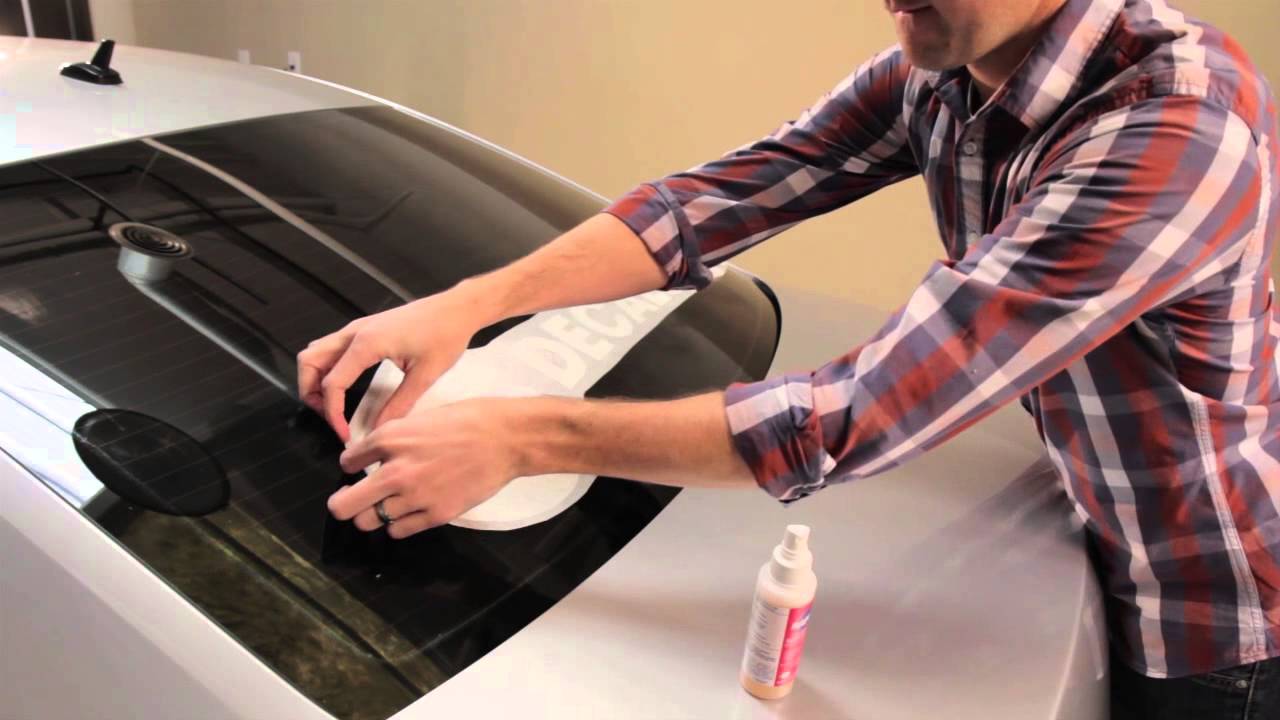
5) All soil, oil and wax should be eliminated from the vehicle surface before the decal is applied. This incorporates wax from mechanical vehicle washes, downpour x, compound, and so on. Inability to make this stride might bring about the decal not adhering to the vehicle surface.
Stage 1 - Unload THE Steel trailer - Eliminate decals from bundling. Lay decals level on a smooth table in a space that is something like 60° F and beneath 80° F.
Stage 2 - Set up THE SURFACE - The main step during decal establishment is ensuring the establishment region is spotless and dry. Ensure there is NO WAX, Downpour X, COMPOUND, build up, dust, or other buildup on a superficial level. Eliminate all wax, compound buildup, vehicle wash protestants, and so on with scouring or denatured liquor. In the wake of cleaning the surface, go over the surface with normal glass more clean.
- Real 1Z0-434 Exam Dumps to Pass Exam Questions Efficiently
- Try 1Z0-1074-22 Exam Dumps for Top Exam Preparation
- Get Exam Success with 1Z0-342 Exam Dumps
- Try 1Z0-1033-22 Exam Dumps for In-depth Exam Expertise
- Get 1Z0-1085-22 Exam Dumps with Right Exam Questions
- Try 1Z0-1096-22 Exam Dumps for Best Exam Results
- Get 220-1102 Exam Dumps with Right Exam Questions
- Get 1Z0-1042-22 Exam Dumps with Brilliant Exam Questions
- Get 1Z0-1045-22 Exam Dumps with Correct Exam Questions
- Get Exam Success with 100-890 Exam Dumps
Stage 3 - Track down Wanted Area OF THE STRIPES - Utilizing a string or other line, place it over the vehicle from the front to the back in the ideal area for the stripes. Be certain that the string is evenly fixated on the vehicle. Mark this area with a pencil of other nonpermanent stamping gadget at the front and the back of each body board. This will act as the area of the edge of the stripes.
Stage 4 - Spot THE STRIPES - Measure the length of each body board to which the stripe is to be applied. Lay the stripe segment over the region of the vehicle, managing the abundance stripe off one end (leave essentially an inch extra) Save all cut off pieces, as they can be utilized to cover guards and blades.
Stage 5 - SECURE THE STRIPES - Spot a piece of veiling tape toward one side of the stripe, as this will hold the finish of the stripe while introducing. Working from that finish to the next, gradually strip back the delivery paper 1/2 way down and splash the body surface with a fine fog of water arrangement (not foamy arrangement). With a wiper, apply the stripe to the body board working from the focal point of the stripe outward. As you work further down the stripe, gradually keep on eliminating the sponsorship paper depending on the situation. Gradually keep on applying the stripe with the wiper, applying even tension across the width of the stripe.
Stage 6 - Eliminate THE Exchange PAPER - When the whole piece is applied, eliminate the covering tape from the finish of the stripe. Next eliminate the exchange tape covering, cautiously pulling lined up with the outer layer of the vehicle (NOT UP Yet SIDEWAYS).
Stage 7 - FINISH Establishment - Any little air pockets can be effortlessly eliminated by first putting a little opening in the air pocket (little opening, not huge cut). Then soak the wiper edge with water and slide the wiper along the outer layer of the stripe where the air pocket is, working the air towards the opening.


